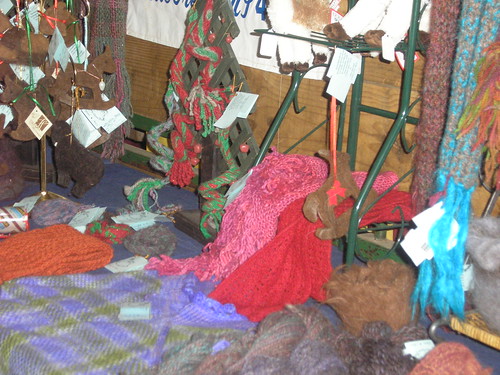
I’ve been using blogger now for about 3 months. I don’t know about anyone else, but I’ve struggled many times with inserting and formatting pictures in blogger. I have no problem if I use the “none” layout for the picture. But sometimes, I want to put two pictures side by side or move them to the right or left, and it just doesn’t come out the way I want it to. When I think I have everything the way I want it to look, the post still doesn’t look like it does in the preview mode. You’ve all seen it where the words are squeezed and wrapped down the side of the picture. I’ve seen this on other blogs too.
I also struggle with placement of the pictures on blogger. Blogger seems to always put my pictures uploads at the top of the post instead of where I want them to go. Moving the pictures is a drag…
So, I set out to find a way to make it easier, and I found this program, Windows Live Writer. Wow, what a difference. I downloaded this free program, and it is so much easier to blog. When you install it, you give it your blog account information and it goes out and grabs your template, colors and stuff.
1. You create your blog offline in this program, and then choose to upload to blogger as a draft or to publish the blog.
2. You can upload to multiple blogs. But I haven’t been able to get it to work with myquiltblog yet. I think it is because it is a more unusual interface for a blog. I can still copy and paste to my quilt blog, though.
3. Pictures are so much easier. When you store pictures on Blogger instead of somewhere else, it uses Picasa to store the pictures. You can also download Picasa 3.5 to your computer to store and edit your pictures offline. Since Picasa already plays nice with Blogger, pictures seem to be easy. You can download Picasa here.
4. Writing blogs in Windows Live Writer is pretty much a WYSIWYG, (what you see is what you get) experience. It has several icons for easy formatting of text and images. It is very intuitive and easy to use.
5. As you are working on your blog, there is a preview button that lets you see how it will look on your blog. Because it loads the templates from your blog, it looks exactly like your blog will look when published. No more “fake preview” that doesn’t look like it does when published with all of your pictures and widgets displayed.
And now, here is a sample of what you can do.
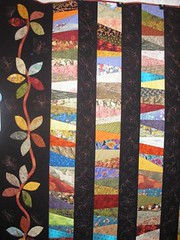
Not only can I do things to a picture like add a border, drop shadow, or as I’ve done on this picture used the “reflection” choice, you choose the text alignment as well. Look, ma, no awkward word wrapping in this picture! This picture is from the MQN quilt show a few weeks ago.
Add a photo border, tilt the picture to the right or left, and add words to the picture… I don’t know if you can tell or not, but the quilter in the picture used feathers as an integral part of the quilt design.
You can add a picture album with lots of pictures or multiple pictures on one page. The album has lots of different settings to choose from.
A break for a minute since this is a quilt blog. Look at the quilting on this quilt. Isn’t it fabulous?
Adding a map is one of the choices. I’m just playing now…
You can also add videos, hyperlinks, tables, etc.
Since this has been such a long blog, I’ll leave you with one more photo album from the MQN quilt show.
I hope this helps those who are struggling like I was. Did I mention there are a lot more fonts available in this program?
Karen


